Add-ons Integrations (Pro)
Email Bridge : Configuring Email Bridge (Global Settings)
The Configuration tab in Email Bridge defines the global settings for all your connected email accounts. These settings control how emails are fetched, processed, converted into tickets, and filtered for spam.
You can access it via:
WP Dashboard > Smart Support > Email Bridge > Configuration
1. General Settings
This section controls how emails are fetched and stored.
- Default Fetch Frequency – How often to check for new emails (e.g., every 5 or 10 minutes).
- Maximum Email Size (bytes) – Emails larger than this will be rejected. Default is 10MB.
- Email Fetch Limit – Choose how far back to fetch emails (e.g., Last 30 Days).
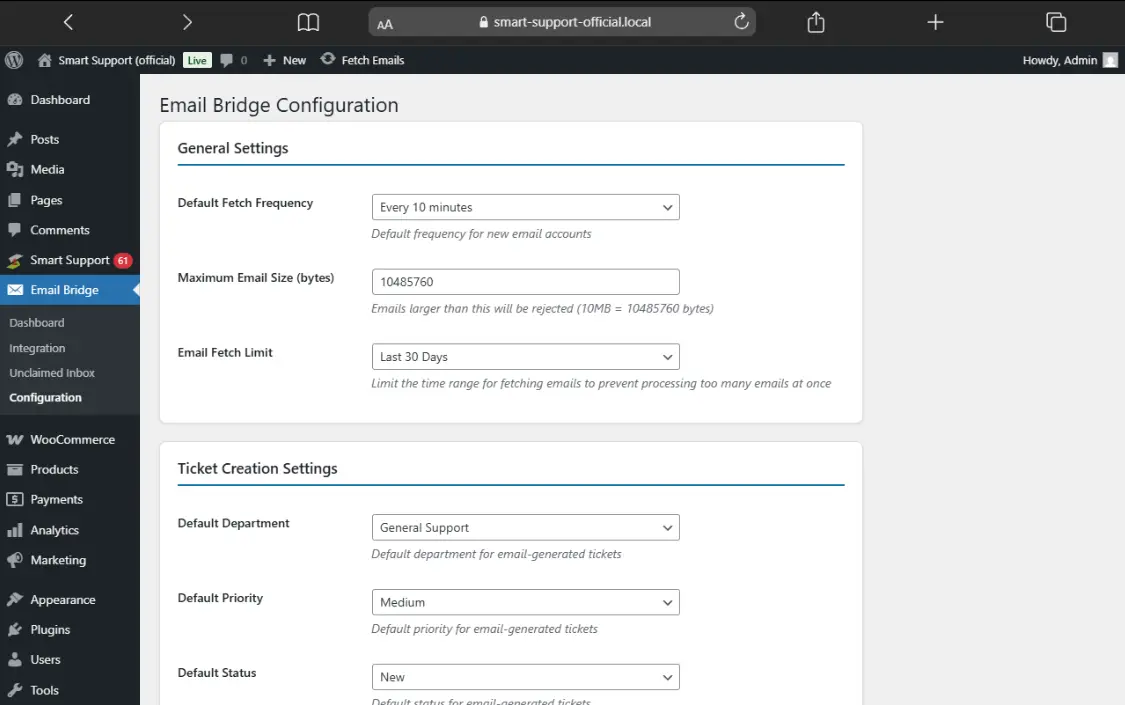
2. Ticket Creation Settings
These options control how tickets are created from emails.
- Default Department – Assigns all email-generated tickets to a department (e.g., General Support, Billing).
- Default Priority – Set a priority (Low, Medium, High).
- Default Status – Choose the status of newly created tickets (e.g., New, Open).
- Unknown Sender Handling – Decide what happens if the sender isn’t recognized:
- Create New User Automatically
- Move to Pending Queue
- Reject Email
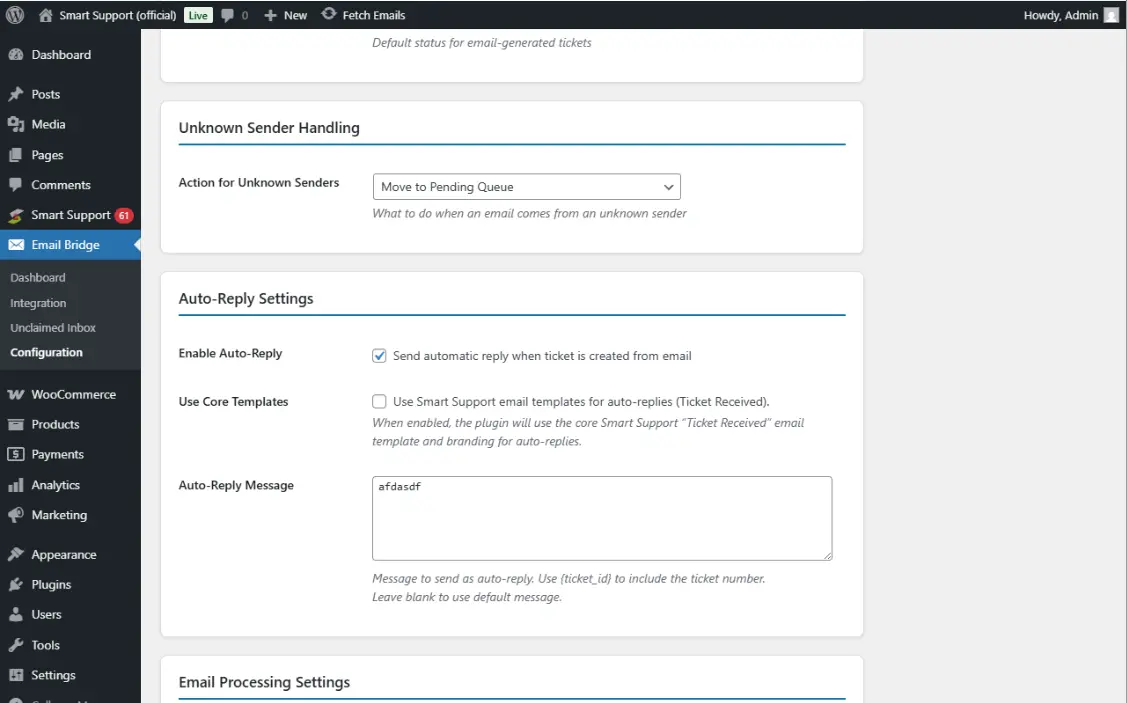
3. Auto-Reply Settings
This allows you to send acknowledgement emails when tickets are created from incoming emails.
- Enable Auto-Reply – Tick to send an automatic reply confirming ticket creation.
- Use Core Templates – Use the built-in Smart Support “Ticket Received” template.
- Auto-Reply Message – Customize your message. You can include placeholders like
{ticket_id}to display the ticket number.
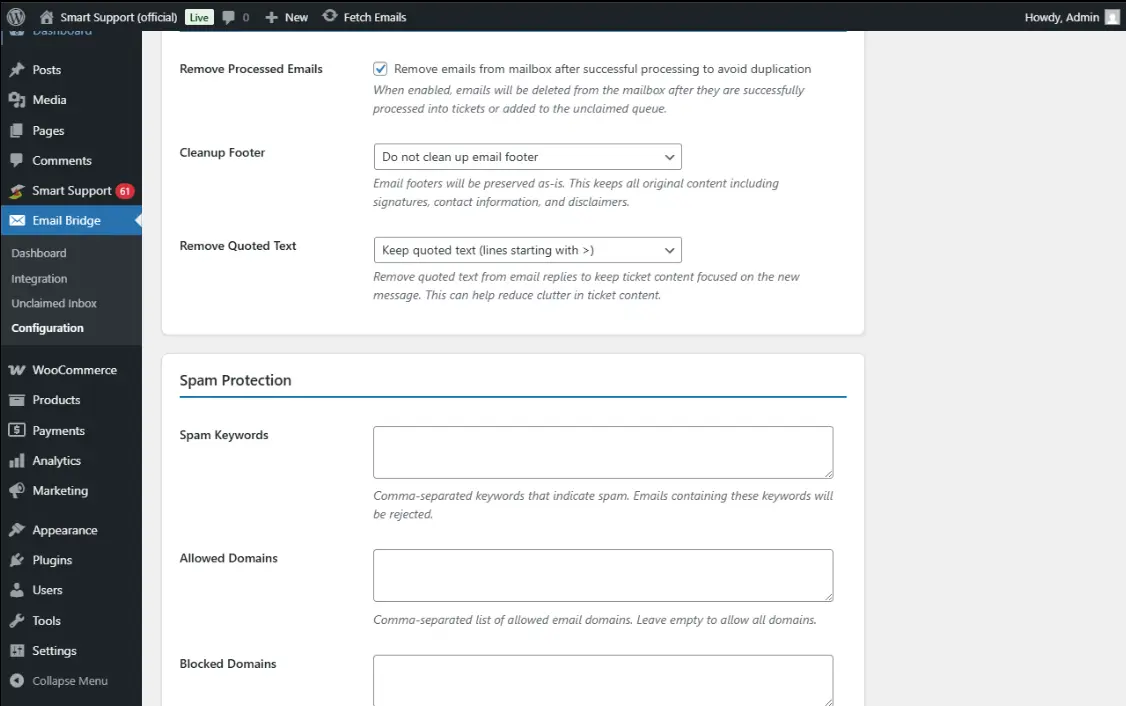
4. Email Processing Settings
These rules manage how emails are handled after processing.
- Remove Processed Emails – Deletes emails from the mailbox after conversion to tickets to avoid duplication.
- Cleanup Footer – Option to remove footers (signatures, disclaimers) from emails.
- Remove Quoted Text – Removes quoted replies (lines starting with >) to keep ticket conversations clean.
5. Spam Protection
Helps filter unwanted or invalid emails.
- Spam Keywords – Any email containing these words will be rejected. (Comma-separated list).
- Allowed Domains – Only accept emails from specified domains (leave blank to allow all).
- Blocked Domains – Reject all emails from listed domains.
Best Practices for Configuration
- Use Auto-Reply to reassure customers their request has been received.
- Keep Fetch Frequency reasonable (5–10 minutes).
- Enable Remove Processed Emails to prevent duplicate tickets.
- Regularly review Spam Keywords & Domains to keep your system clean.
Additional Templates/Exmples
Sample Auto-Reply Templates
When enabling Auto-Reply Settings, you can use placeholders such as {ticket_id}, {customer_name}, and {site_name} to personalize responses.
Simple Auto-Reply (Recommended)
Hello {customer_name},

We’ve received your request (Ticket #{ticket_id}).
Our support team will review it and get back to you shortly.

Thank you,
{site_name} Support Team
Detailed Auto-Reply (For Premium Support)
Hello {customer_name},

Thank you for contacting {site_name} Support.
Your ticket #{ticket_id} has been created successfully.

📌 Support Hours: Monday–Friday, 9 AM – 6 PM (UTC)
📌 Average Response Time: Within 24 hours

If your issue is urgent, please reply with the subject “URGENT”.

Kind regards,
{site_name} Support Team
Sample Spam Protection Templates
When setting up Spam Keywords, Allowed Domains, and Blocked Domains, here are examples you can use:
Spam Keywords (comma-separated)
viagra, free money, lottery, casino, weight loss, bitcoin investment, adult content
Allowed Domains (if you want only company customers)
company.com, partnercompany.com
Blocked Domains (commonly abused spam domains)
mailinator.com, 10minutemail.com, spamtest.com
With these templates, you can configure Email Bridge quickly while ensuring both professional communication and effective spam filtering.